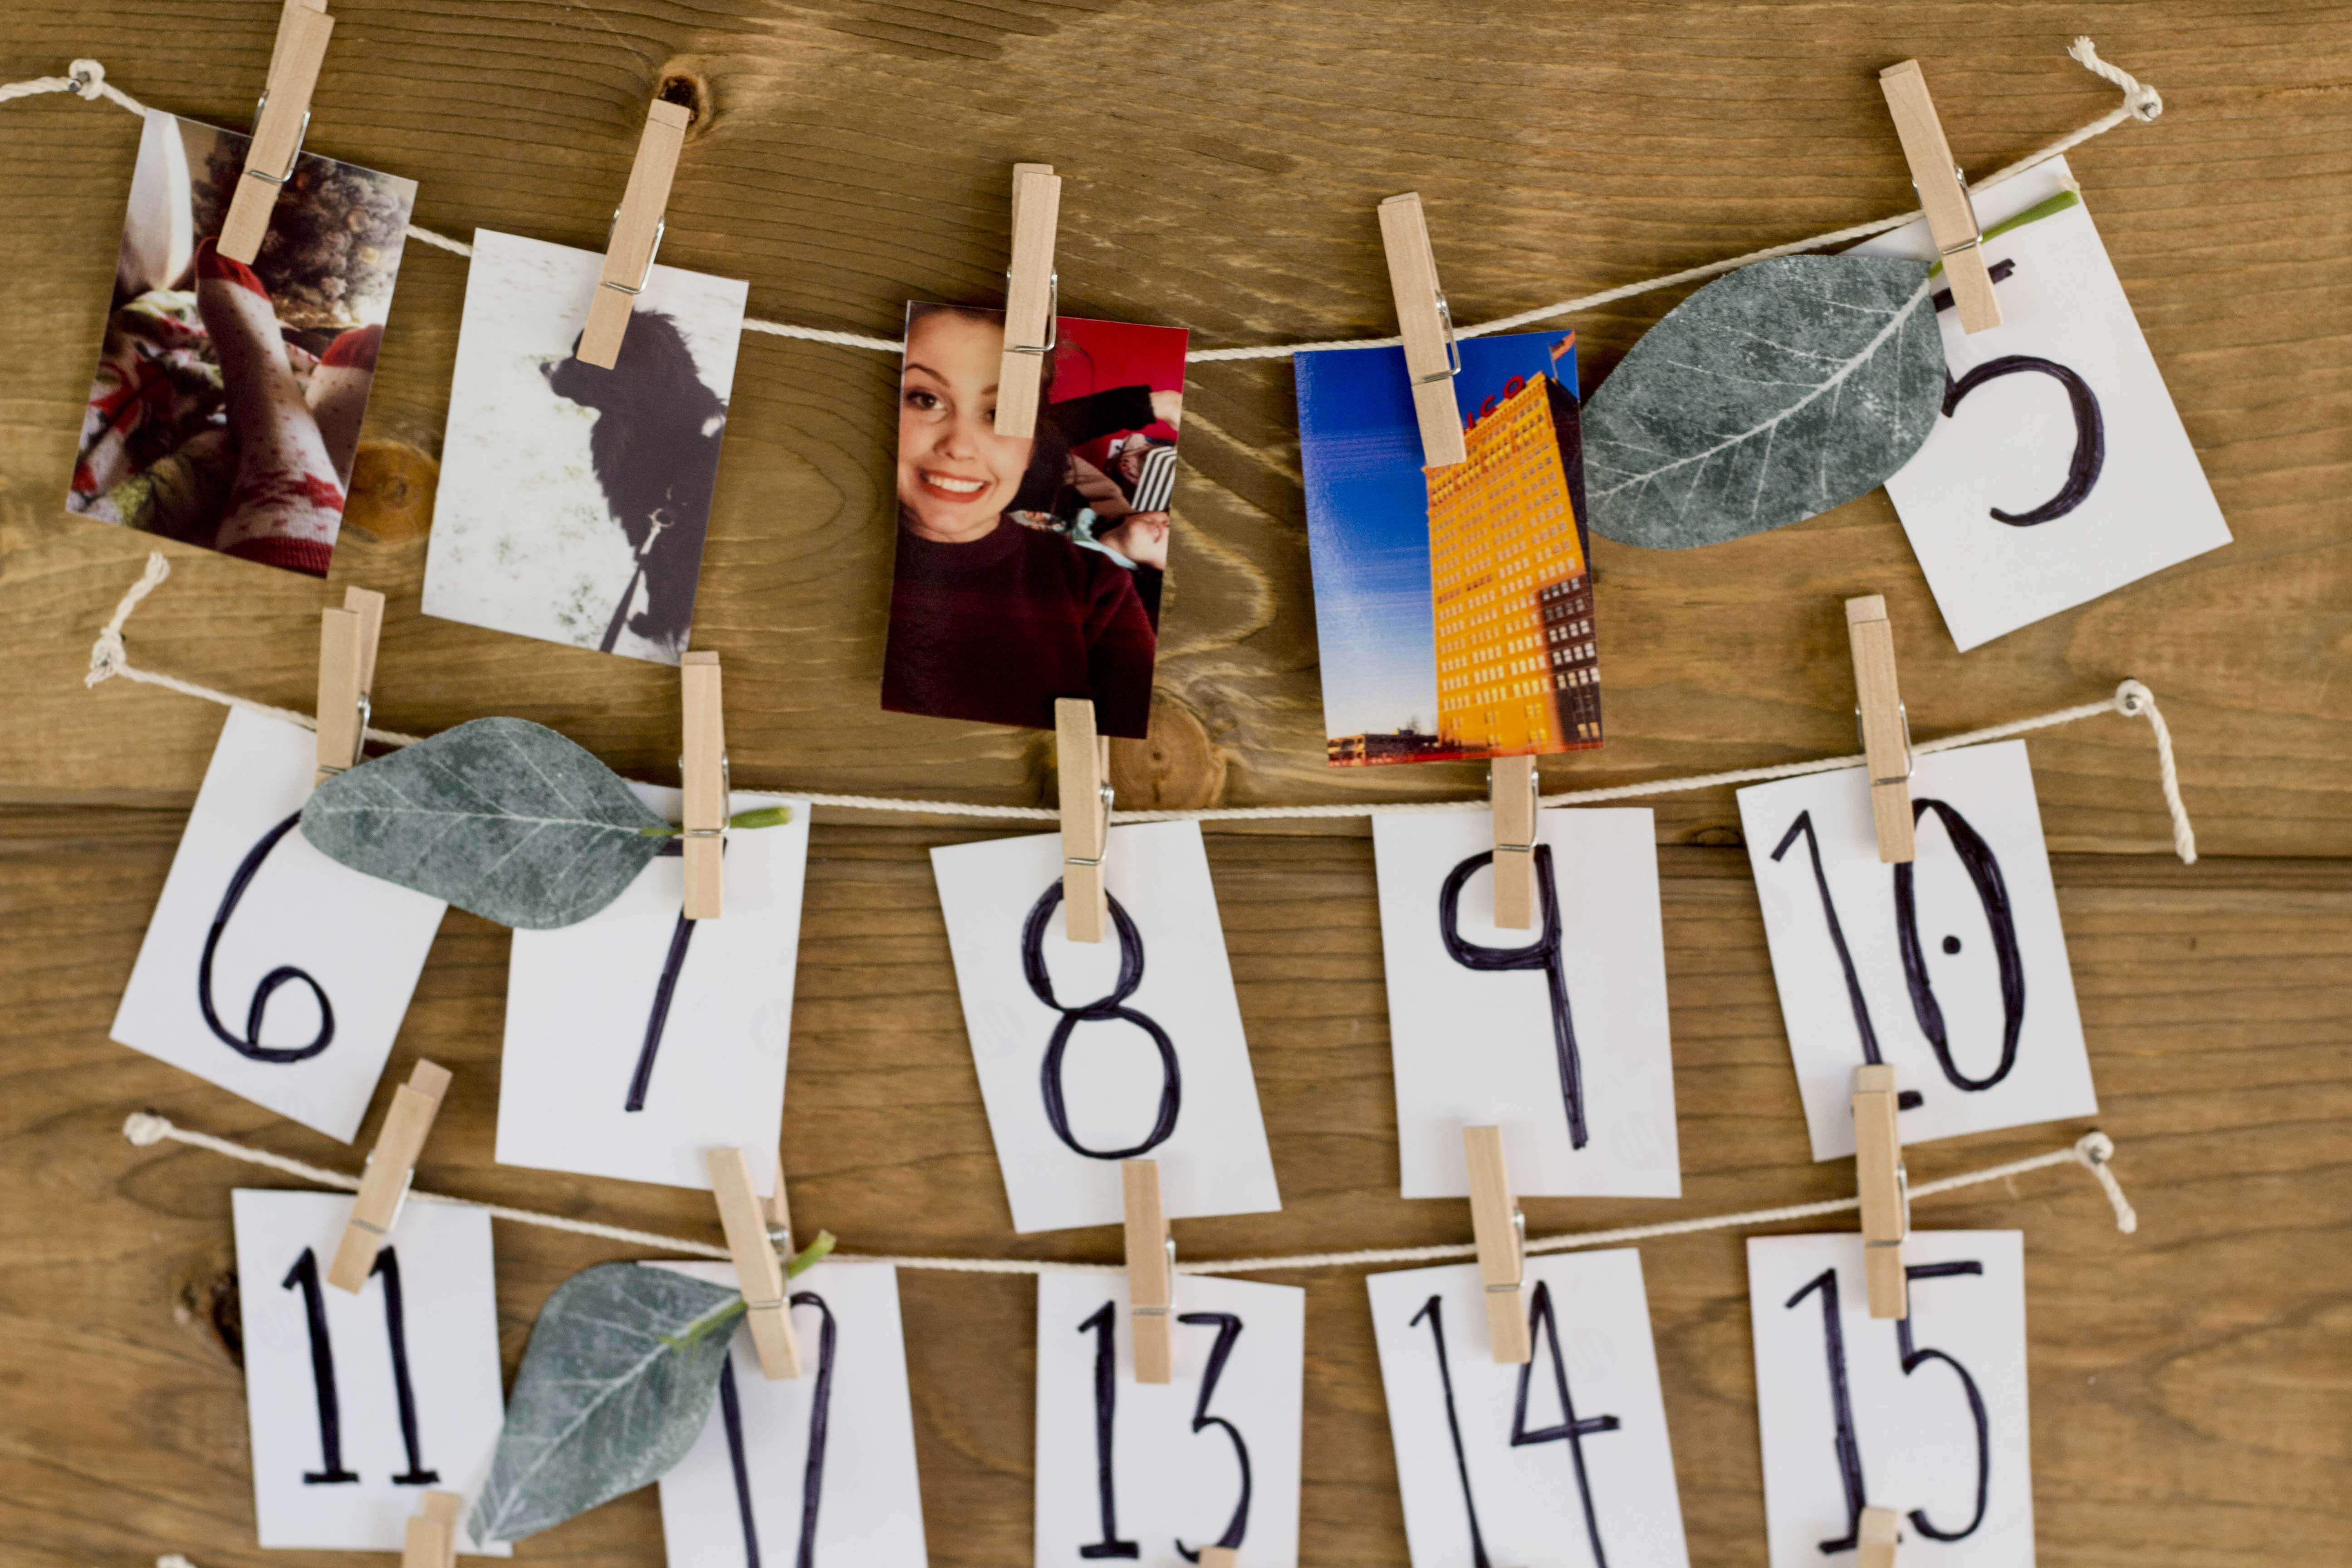
Easy and affordable DIY photo Advent Calendar

When I was a kid, my mom and my grandmother made an intricate advent calendar that my family uses every year to this day. The advent calendar she made was a quilted scroll that had an ornament for every day in the countdown.
Every day in December, we would grab the ornament assigned to the day and hang it on the tree.
We each had our own ornament, and we would put it on our day of birth. My ornament was a stocking with my name on it, and we always put it on the 12th.
My siblings and I got into so many fights on who got to put the ornament on the tree.
I loved that advent calendar so much, and I really wanted my own. Because I am not as talented with a needle, I knew I couldn’t cross-stitch my own.
I also wanted to make something easy, and something that could fit my budget.
SUPPLIES
I decided to make an advent calendar with photos so that I could change it out every year. Also, since I live in Waco (home of Fixer Upper), I tend to lean towards farmhouse-isque decor.
I found this adorable pallet at Hobby Lobby. The pallet was only $19.99, and I used my 40 percent off coupon – making it only $11.99. I also found small clothespins perfect for this project at Hobby Lobby.
I also bought some HP Printer Paper for my HP Envy 4511 printer.
I already had the eucalyptus leaves (leftover from my wreath DIY), nails and twine at the house.

This project cost me less than $30.
THE PROCESS
I started by finding 25 photos that brought me joy. I also followed in my mom’s footsteps and printed off a photo of my sisters and myself to put on our day of birth.
If you use the same pallet I did, I suggest printing four equally sized photos on a 4×6 photo paper. I created a design in Canva to print out.


I then cut the photos very carefully to create the small rectangles for the numbers.
Then, using a sharpie, I wrote out each number on the back of each photo.


While waiting for the sharpie to dry, I begin to hammer the nails. The pallet has one section where there is enough backing to put in a nail.
I started at the top and created my first line. Then I measured out the photos and measured out the spaces between nails.
Using the twine, I tied the nails together – being sure not to give too much slack.


Putting the rest of the advent calendar together was easy! Simply attach the photos in the correct order using the clothespins.
For embellishments, I added fake eucalyptus leaves, and you can add Christmas lights as well!


ENJOY
Once the advent calendar is complete, you can hang it over your mantle or hang it on the way to countdown to Christmas!


Do you buy advent calendars or do you make your own?


